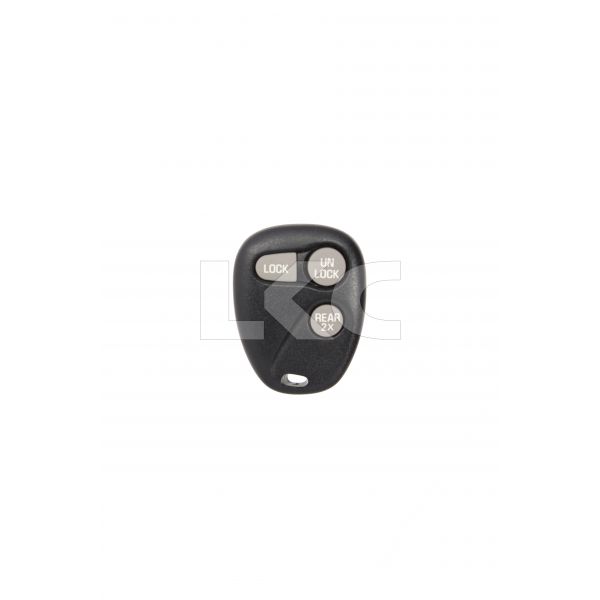
1996 - 2002 GM 3 Button Keyless Entry Remote w/ Trunk - AB01502T/ABO1502T
1996 - 2002 GM 3 Button Keyless Entry Remote w/ Trunk - AB01502T/ABO1502T
Fits:
1997 - 1999 Buick LaSabre
1997 - 1998 Buick Century
1997 - 1998 Buick Park Avenue
1997 - 1998 Buick Regal
1997 - 1998 Buick Riviera
1997 - 1998 Buick Skylark
1997 - 1999 Chevrolet Astro
1996 - 1999 Chevrolet Camaro
1996 - 1999 Chevrolet Cavalier
1997 - 2002 Chevrolet Express
1996 - 1999 Chevrolet Lumina
1996 - 1999 Chevrolet Malibu
1996 - 1999 Chevrolet Monte Carlo
1997 Chevrolet S-10 Blazer
1997 - 1999 Chevrolet Suburban
1997 - 1999 Chevrolet Tahoe
1997 GMC Jimmy
1998 - 2002 GMC Savanna
1996 - 2000 GMC Yukon
1997 - 1998 Oldsmobile Achieva
1997 Oldsmobile Bravada
1997 - 1999 Oldsmobile Cutlass
1997 - 1999 Pontiac Bonneville
1997 - 2002 Pontiac Firebird
1997 - 1998 Pontiac Grand Prix
1997 - 1999 Pontiac Sunfire
180 Day Satisfaction Guarantee!
If you are not 100% satisfied with your product for any reason, you may return the product within 180 days of ordering for a replacement. Please see our return policy for further information.
| SKU | 946 |
|---|---|
| FCC Number | AB01502T/ABO1502T |
| OE Part # | 16245100-29, 16245105 |
| Support | Your purchase gives you 100% free e-mail and phone technical support from our expert staff. |
| Programming Information | This remote comes with self programming instructions. You can view them under the 'Programming Instructions' tab. NOTE: When looking under the 'Programming Instructions' tab please look for your specific model as the programming instructions vary. |
| Product Condition | Refurbished |
| Programming Instructions | 1997 - 1999 Buick LaSabre 1. Insert key in ignition and leave in the OFF position 2. Locate the Data Link Port. It is located under dash drivers side. Be sure you know
6. Press and hold both the LOCK and UNLOCK buttons together on the first transmitter to
1997 - 1998 Buick Century 1997 - 1998 Buick Regal
IMPORTANT: Before entering programming mode, have in possession all of the remotes you will be using on the vehicle. Once you program the remotes , all previous codes will be erased from the memory. The other remotes will not be functional until you program the remotes again.
2. Insert key in ignition and turn to ON (As far as you can without cranking engine)
3. Turn ignition OFF and remove the key from the ignition.
4. Press and hold the driver side door lock switch in the UNLOCK position.
5. Insert the ignition key into the ignition lock cylinder and remove the key. (Do not turn the ignition key in the lock
6. Insert the ignition key into the ignition lock cylinder and remove the key. (Do not turn the ignition key in the lock
7. Insert the ignition key into the ignition lock cylinder. (Do not turn the ignition key in the lock cylinder.) Leave the
8. Release the door lock switch. The vehicle will sound three beeps in order to verify the Program Mode has been
9. Press the LOCK and UNLOCK buttons together on the keyless entry transmitter and hold until the vehicle beeps
10. Perform the previous step to program up to four transmitters (including your old ones). 11. Remove the ignition key in order to exit the Program Mode.
1997 - 1998 Buick Skylark 1996 - 1999 Chevrolet Cavalier 1997 - 1998 Oldsmobile Achieva 1997 - 1999 Pontiac Sunfire
1. Make sure ignition is in the OFF position.
2. Locate the Programming Connector in the trunk (driver’s side). It is a plastic connector with two
3. The programming connector should have two terminals. Connect both terminals with a suitable
5. Repeat the previous step for each additional transmitter (including any existing transmitters). Do
6. Remove the jumper wire from the Keyless Programming Connector.
1996 - 1999 Chevrolet Camaro 1997 - 2002 Pontiac Firebird
1. Turn the ignition switch to the OFF position.
2. Remove the RADIO fuse.
3. Cycle the ignition switch from the OFF position to the RUN position (as far as you can go without
4. Press and hold both the LOCK and UNLOCK buttons on the first transmitter for approximately
5. Repeat the previous step for each additional transmitter (including any existing transmitters). You
6. Place the ignition switch in the OFF position. IMPORTANT: The remote keyless entry system
7. Replace the RADIO fuse. If at any time it is necessary to restart the procedure, turn the ignition
1996 - 1999 Chevrolet Monte Carlo
Note: Existing keyless remotes will be erased with this procedure.
1. Locate the programming connector wire located in the RH trunk area.
3. System will now lock and unlock doors automatically to indicate
4. Press any button on keyless remote. System will respond by locking
5. Repeat step 4 for to program any additonal keyless remotes including
6. Disconnect programming connector wire from ground to exit programming
7. Test keyless remote(s).
1996 - 1999 Chevrolet Malibu 1997 - 1999 Oldsmobile Cutlass
1. Make sure ignition is in the OFF position.
2. Locate the Programming Connector in the trunk (center of rear shelf). It is a plastic connector with
3. The programming connector should have two terminals. Connect both terminals with a suitable
4. Press and hold the LOCK and UNLOCK buttons on the transmitter simultaneously for at least 15
5. Repeat the previous step for each transmitter to be programmed. Do not remove jumper wire in
6. Remove the jumper wire from the Keyless Programming Connector.
MPORTANT: Before entering programming mode, have in possession all of the remotes you 1. Remove the key from the ignition.
2. Close all doors.
3. Remove the "MALL PGM" fuse from the fuse panel. Use the legend on the fuse panel or
4. Insert the key into the ignition, and turn to the ACC position.
5. Turn the key to OFF and then back to ACC within 1 second.
6. Open and close any vehicle door. A chime will be heard when the system enters into
7. Press and hold the remote LOCK and UNLOCK buttons simultaneously for 14 seconds.
8. Repeat step 7 now for each additional remotes to be programmed including any existing
9. Remove key from ignition.
10. Install the "MALL PGM" fuse back into the fuse panel and test remote(s).
|
| msrp | 116.32 |
Same Day shipping on
Expedited ordered before 2pm.
180 day
replacement guarantee
ONLINE SUPPORT
Free chat, phone, and email support.

