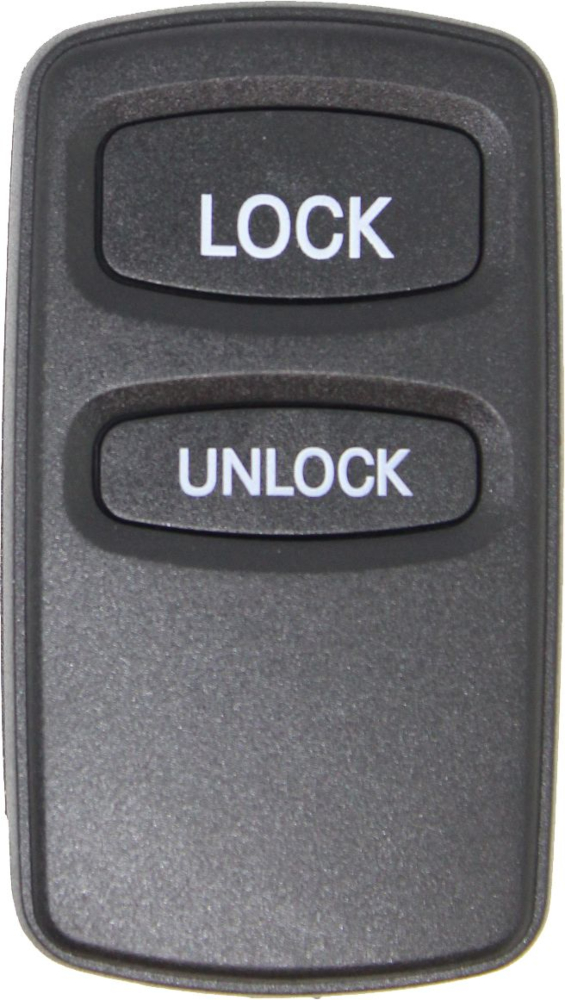
1999 - 2001 Mitsubishi Eclipse/Galant 2 Button Keyless Entry Remote
The 1999 - 2001 Mitsubishi Eclipse/Galant 2 Button Keyless Entry Remote is an excellent solution for replacing your old or lost key fob. Specifically designed for the 1999 to 2001 Mitsubishi Eclipse and Galant models, this 2-button remote fob allows you to lock and unlock your vehicle with ease.
This remote is built to offer seamless integration with your Mitsubishi’s keyless entry system, ensuring reliable performance and convenience. The 1999 - 2001 Mitsubishi Eclipse/Galant 2 Button Keyless Entry Remote is easy to program, so you can quickly restore full functionality to your vehicle's entry system. Whether you're replacing a broken remote or need an extra, this key fob is a cost-effective solution that provides a secure and reliable way to access your vehicle.
Made with durability in mind, the 1999 - 2001 Mitsubishi Eclipse/Galant 2 Button Keyless Entry Remote delivers the peace of mind you need while offering great value for your vehicle. Keep your Mitsubishi Eclipse or Galant secure and accessible with this high-quality keyless entry remote.
| SKU | 1902 |
|---|---|
| Dealer Price | $150.64 |
| FCC Number | HYQ12ABA |
| OE Part # | MR587859 |
| Support | Your purchase gives you 100% free e-mail and phone technical support from our expert staff. |
| Programming Information | This remote comes with self programming instructions. You can view them under the 'Programming Instructions' tab. |
| Product Condition | Refurbished |

